1. Start at the tyres
Look at both tyres before you move the bike. Check for a flat profile, cuts, embedded debris, bulges, and exposed cords. Use a gauge when the tyre has been sitting; a thumb test misses small pressure changes that affect steering and braking.
Confirm the pressure against the vehicle manufacturer's cold-pressure specification and adjust for load only when the manual permits it. A tyre that loses pressure repeatedly needs repair, not another top-up.
2. Test the brakes before the road does
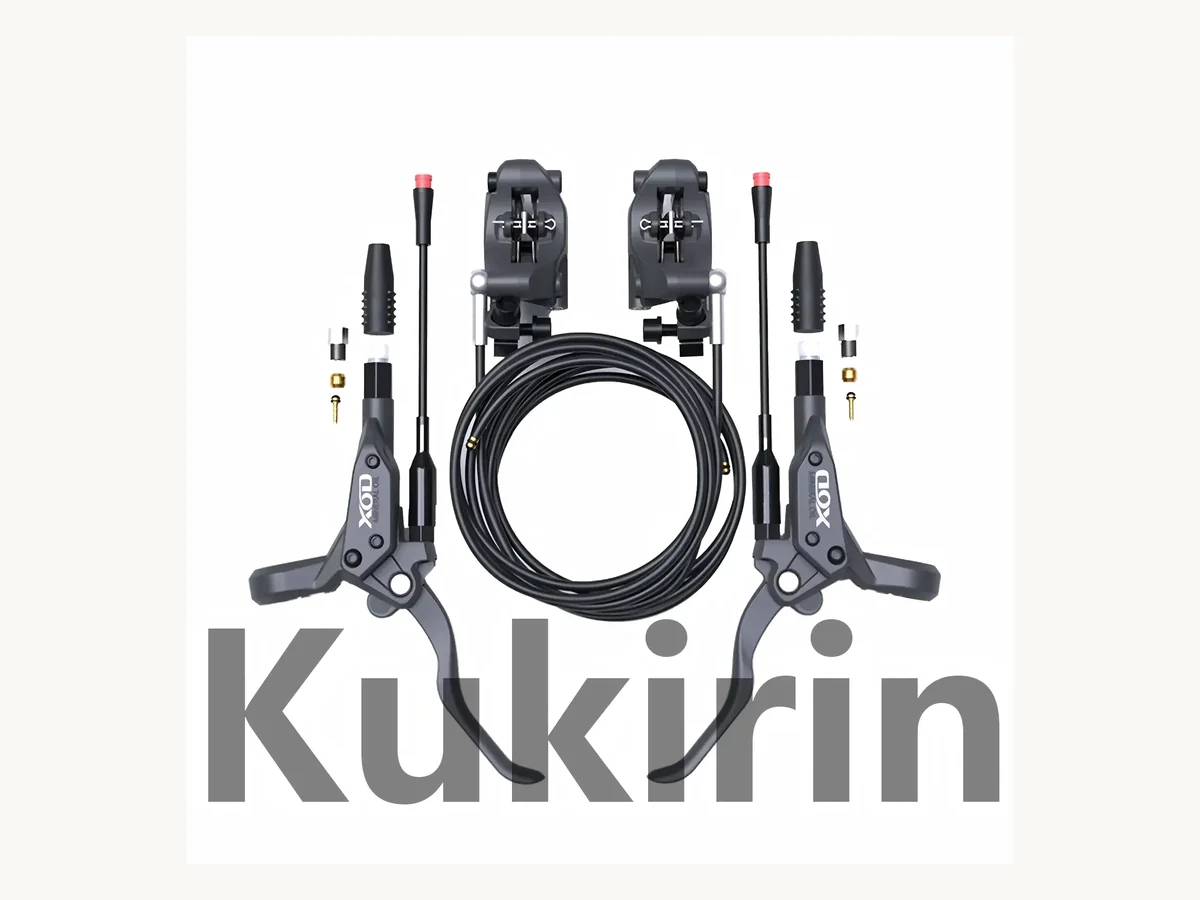
With the bike stationary, pull or press each brake and look for a firm response without a spongy lever, leaking fluid, or damaged line. Check pad and disc condition where visible. Spin the wheel to feel for dragging or a warped rotor.
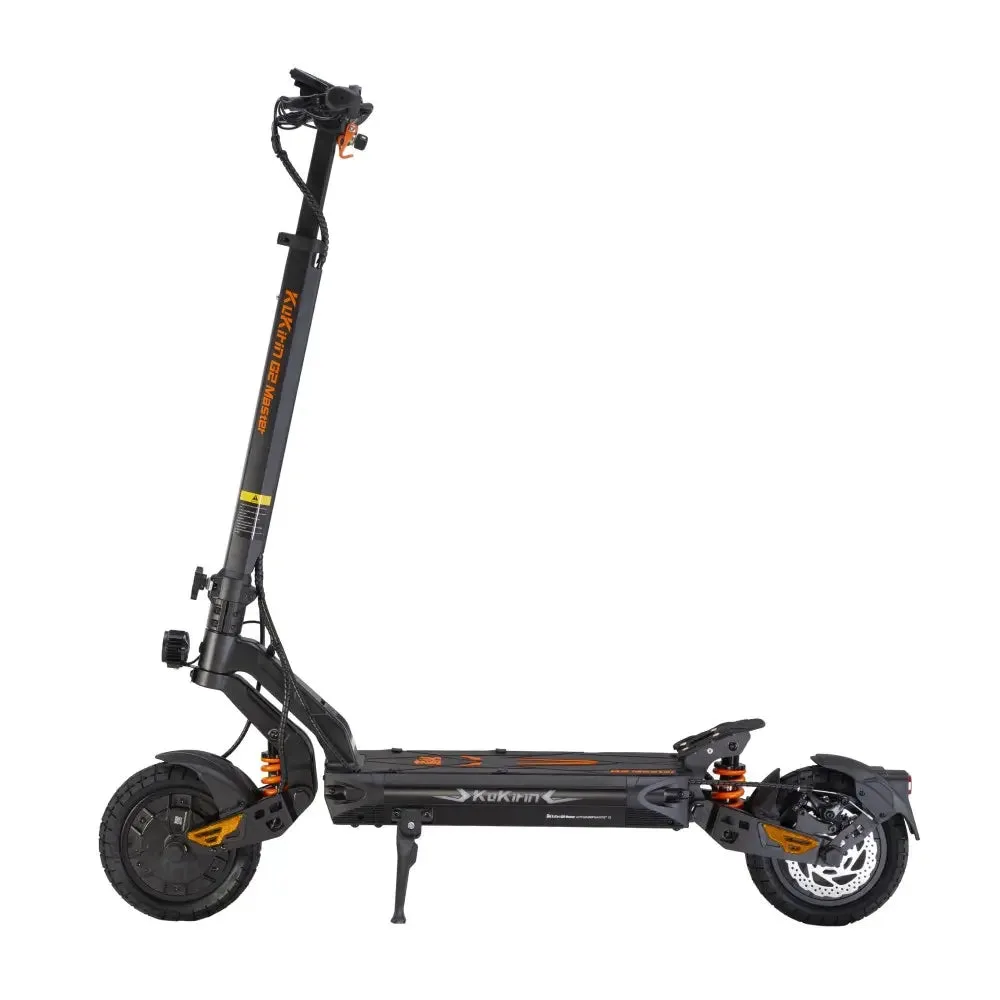
Electric scooters and e-motos can have regenerative braking as well as mechanical brakes. Regeneration is not a substitute for a functioning friction brake. If stopping performance is inconsistent, stop using the vehicle until it is inspected.
3. Look at the controls and steering
Turn the bars through the normal range and look for cable pull, pinching, or contact with the frame and controls. Confirm that the throttle returns freely and does not stick. Check grip security, mirror mounts, phone holders, and anything attached to the bars.
A loose accessory is not a small inconvenience at speed. Screen mounts, action cameras, and phone clamps must remain clear of the steering sweep and brake controls.
4. Inspect the battery and charge state
For an electric vehicle, confirm that the battery is latched, the connector is fully seated, and the charge level supports the planned trip. Look for swelling, heat damage, a burning smell, damaged insulation, or loose connector pins.
If anything looks damaged, do not charge or ride the battery. Place it away from combustible material and follow the manufacturer's support process. Water and impact damage can be hidden inside a case.
5. Check lights, horn and visibility
Test the headlight, tail light, brake light, indicators where fitted, and horn. A smart helmet or auxiliary light does not repair a failed motorcycle light. Confirm that the beam is aimed correctly and that no wiring moves into the tyre or suspension.
Keep a basic high-visibility layer available even if the trip starts in daylight. Weather and visibility can change before the return leg.
6. Look for loose hardware and leaks
Walk around the machine and inspect the obvious fasteners, axle hardware, mirror stems, case mounts, racks, and luggage systems. On a combustion motorcycle, look under the engine and beneath the fork and shock for fresh oil, coolant, or fuel.
Do not use vibration or a new accessory as an excuse to overtighten hardware. Follow torque values and use the correct thread treatment.
7. Confirm the route and the rules
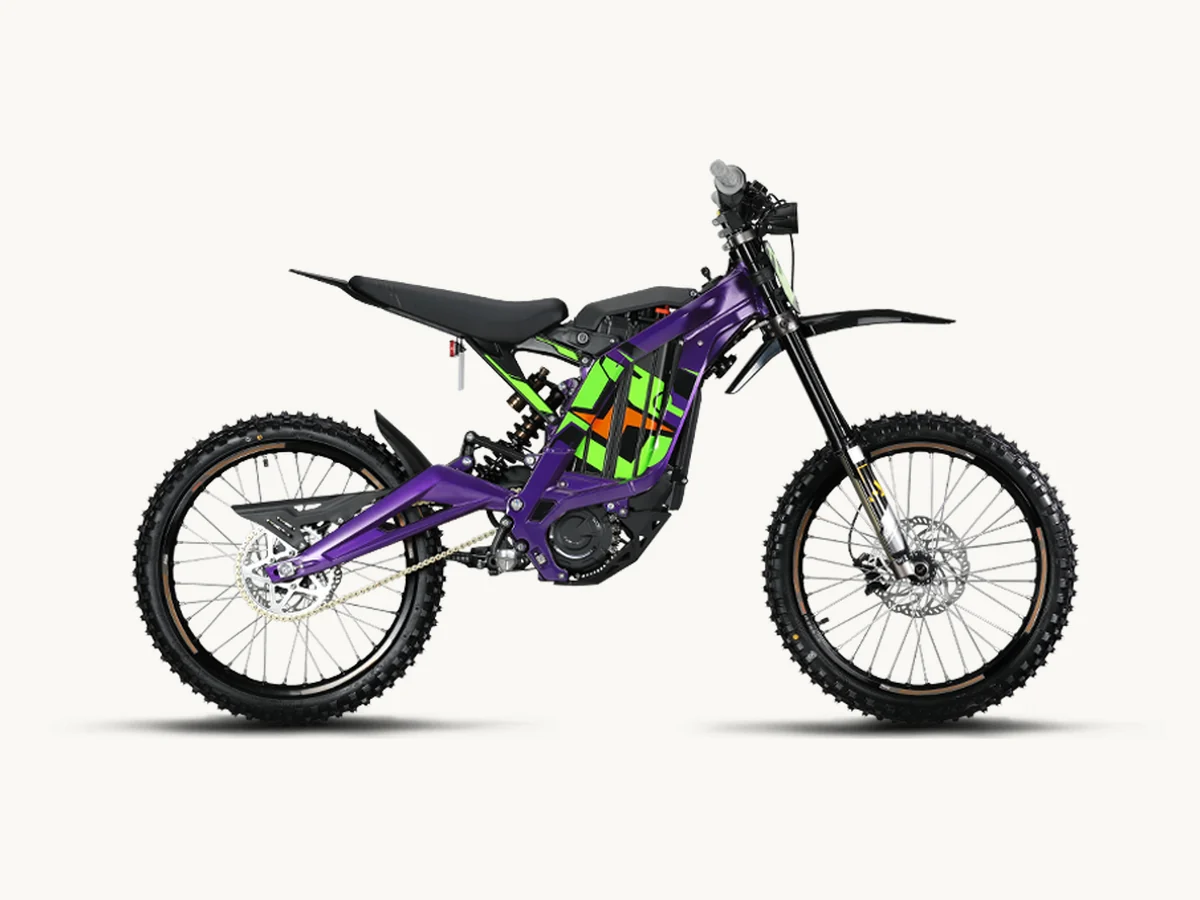
A traffic check is part of maintenance. Confirm the battery range you need, weather exposure, road closures, charging access, and whether the vehicle is legally permitted on the intended route. A performance e-moto does not become road-legal because the weather is good.
If you carry a passenger or luggage, recheck tyre pressure, suspension settings, rack limits, and whether the load changes lighting angle or braking balance.
8. Stop for abnormal sounds or handling
The final check is attention. A new click, vibration, steering pull, delayed brake, or hot smell is information. Stop in a safe place and investigate rather than trying to ride it out.
This checklist supports routine inspection; it does not replace the manufacturer's service schedule or a qualified mechanic. Significant damage, brake-system faults, battery swelling, and structural cracks require professional attention.
The five-minute rule
Check tyres, brakes, controls, battery, lights, hardware, route legality, and abnormal symptoms before every ride. Most of the list takes seconds once it becomes routine, and it creates a clear reason to stop when something is wrong.